You’ve unboxed your new air purifier. Before you plug it in, there are a few critical setup steps that determine whether you get the clean air you paid for or a noisy plastic box that doesn’t seem to do much. Here’s the complete guide.
Step 1: Remove the Plastic
This sounds obvious, but it’s the single most common setup mistake. Most HEPA and carbon filters ship in sealed plastic bags to preserve carbon freshness and prevent contamination. Open every access panel. Remove every filter. Unwrap every plastic bag. Reinstall every filter in the correct order (pre-filter → carbon → HEPA, or as shown in the manual). Yes, people have run purifiers with the plastic still on for weeks before noticing.
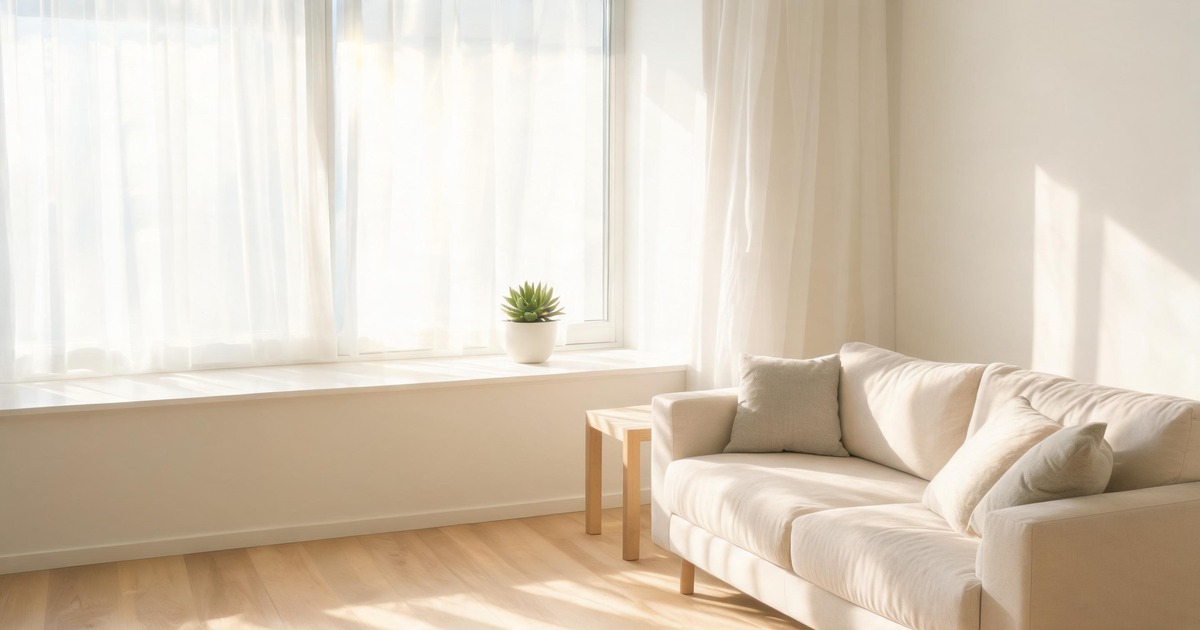
Step 2: Placement Is Everything
Follow the 12-18 inch wall clearance rule. Most purifiers pull air from the sides or back. Pushing it against a wall starves the intake. Similarly, don’t place it:
- Behind furniture (blocks airflow completely)
- In a corner (two walls restrict two intake sides)
- Directly on carpet (restricts bottom intakes on some models)
- Near curtains or drapes that can block the intake
The ideal placement: 2-4 feet from an interior wall, at least 12 inches from obstructions, with the clean air output pointed toward the center of the room. In bedrooms, position it between the bed and the door — the door is where outside air enters.
Step 3: The Initial Deep Clean
Run the purifier on its highest speed for the first 2-4 hours. This does an initial deep clean of the room’s air. After this, switch to auto or medium for ongoing maintenance. Don’t judge the purifier’s noise level based on maximum speed — most people run on low or auto 95% of the time.
Step 4: What to Expect in the First 48 Hours
- Hours 1-4: If the purifier has an air quality indicator, it should improve from yellow/red to blue/green. You may notice reduced odors.
- Days 1-2: Visible airborne dust should decrease. The air may feel “fresher” — this is the reduction in particulate concentration.
- Days 3-14: Allergy symptoms may begin improving. Surface dust accumulation slows noticeably.
- After 2 weeks: Inspect the pre-filter. If you see visible debris, the purifier is working. If the pre-filter is still clean and your air quality indicator hasn’t improved, check placement and room sealing.
If the air quality indicator stays yellow/red after 4+ hours on high: the purifier may be undersized for the room, there may be an active pollution source (open window, cooking, outdoor infiltration through poor seals), or the sensor needs cleaning.
The Unboxing Ritual Worth Doing Right
Remove all plastic wrap — including the clear film on the filter, a surprisingly common oversight. New purifier owners on Reddit frequently post “why isn’t my purifier working” only to discover they forgot to unwrap the filter. The plastic is stiff and sometimes folded tightly inside the filter frame — check carefully.
For smart purifiers: connect to WiFi during setup rather than postponing. The firmware update that runs automatically on first connection often fixes sensor calibration issues and auto-mode responsiveness that you’ll never notice are broken until month three. Let it update, then factory reset if the app asks to create yet another account.
Placement: at least 12 inches from walls for units with rear intake, 6 inches for side-intake or 360-degree units. Measure with a tape measure once — don’t eyeball it. The airflow math matters.
See also: Air Purifier Placement Guide for Maximum Effectiveness, How to Test If Your Air Purifier Is Actually Working, Air Purifier Buying Guide for First-Time Buyers.
Disclosure: We may earn a commission from qualifying purchases.